To mine Ethereum Classic (ETC) using a Bitmain Antminer E9, follow the instructions in this post.
This summer, Bitmain, the most well-known manufacturer of ASIC miners, unveiled the new Antminer E9 machine for mining Ethereum. 25 of Nvidia’s top-tier RTX 3080 graphics cards could be compared to E9’s enormous hashing rate of 2 400 MH/s. Bitmain recently released new firmware that enables Ethereum Classic mining on the E9 in anticipation of Ethereum switching to POS. Let’s examine the configuration of this ASIC for ETC.
Table of Contents
Antminer E9 Performance
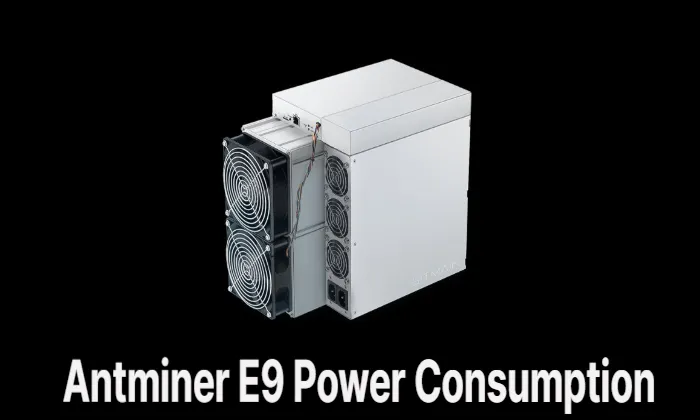
The Antminer E9 uses the Ethash and Etchash algorithms and has a hashrate of 2 400 MH/s while drawing 1920 W.
The Bitmain Antminer E9 (3Gh) is a Ethereum Classic miner. It mines the Ethash algorithm, with a maximum hashrate of 3 Gh/s and a power consumption of 2556 W.
At an electricity cost of 8¢ /kwH, the Bitmain Antminer E9 (3Gh) profitability is $3.34 every 24 hours. This works out to 0.4037 ETC mined every day.
Setting Up Antminer E9 for ETC Mining
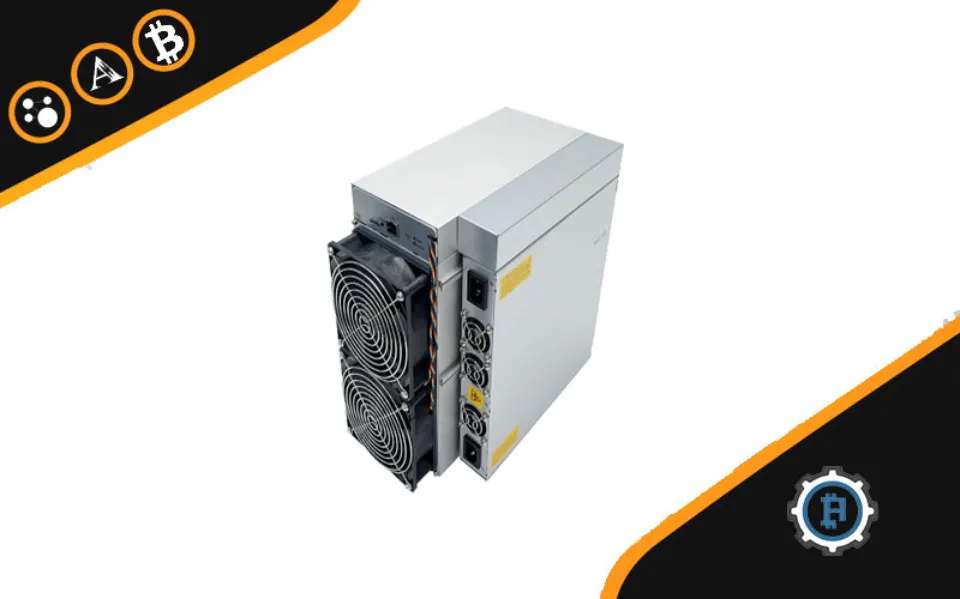
One of the most recent BITMAIN models is the Antminer E9 server. The Antminer E9 includes the APW12 power supply. To ensure simple setup, all Antminer E9 servers are examined and set up before shipping.

*Caution:
1. A mains socket-outlet that is grounded is required to power the equipment. The socket outlet must be installed close to the machinery and be simple to use.
2. Only when both of the device’s power supply sockets are connected at once will the device be able to receive power. Make sure to shut off all power sources before turning the equipment off.
3. DO NOT remove any screws or cables that are fastened to the product.
4. DO NOT press the cover’s metal button.
5. Please take note that the actual server will take precedence.
Antminer E9 Server Components
The main components and controller front panel of E9 servers are shown in the following figure:

Setting up the Power Supply for the Antminer E9
APW12 Power Supply:

*Note:
1. Two more power cords are required.
- Check the voltage requirements of the Antminer E9 and the power supply unit.
- Connect the power supply unit to an electrical outlet.
- Connect the power supply unit to the Antminer E9 using the provided power cord.
- Turn on the power supply unit.
Connecting the Antminer E9 to a Computer or a Controller
- Connect the Ethernet cable to the Ethernet port on the Antminer E9.
- Connect the other end of the Ethernet cable to a computer or a controller.
- Power on the Antminer E9.
- Configure the Antminer E9 by accessing the miner’s web interface through a web browser on your computer or controller.
Set Up the Antminer E9 Server
Note: Only Microsoft Windows is compatible with the file IPReporter.zip.
1. Download IPReporter.zip from the following link.
2. Extract the file.
Note: IP addresses are distributed automatically by the DHCP network protocol by default.
3. By selecting Run As Administrator from the context menu of IPReporter.exe, click.
4. Select one of the following options:
- Farm servers can be marked with the appropriate symbols: shelf, step, and position.
- For home servers, default is appropriate.
5. Click Start.
6. Click the IP Report button on the controller board. For about five seconds, hold it down until it beeps.
Your computer’s screen will have a window with the IP address visible in it.
7. You should type the provided IP address into your web browser.
8. Use root as both the username and password to log in.
9. You can (optionally) assign a Static IP address in the Protocol section.
10. Type in the IP address, Subnet mask, gateway, and DNS server.
11. Click “Save”.
Configuring Bitmain Antminer E9 Server
Now you setted up you Antminer E9 sever, now let’s see how to configuring Bitmain Antminer E9.
Download Antminer E9 firmware
- Visit the our Antminer E9 firmware page and choose the latestt firmware that is compatible with Bitmain Antminer E9 and Ethereum Classic (ETC).
- Download the fimware and extract the files to a suitable location on your computer.
- Make sure that the downloaded firmware is the latest version.
Setting Up the Mining Pool
- Choose a mining pool that supports Ethereum Classic (ETC). Popular mining pools for ETC include Ethermine, Sparkpool, and 2Miners. Read Best ETC Mining Pool for Bitmain Antminer E9 to know more popular pools that support ETC mining.
- Create an account on the selected mining pool’s website.
- Create a worker on the mining pool’s website. This worker will be used to track the mining progress of your Antminer E9.
- Note down the mining pool’s URL, port number, and your worker details.
Configure the Server
- Click Settings.
Note: Although the fan speed percentage can be changed, we advise maintaining the default setting. If the fan speed percentage is still selected, the server will adjust the fan speed automatically.
- Set the options according to the following table:
| Option | Description |
| Mining address | Enter the location of the pool you want to visit. Note: Three mining pools can be configured on the E9 servers, with the first pool (pool 1) having lower priority than the third pool (pool 3). If none of the pools with higher priority are available, the lower priority pools will only be used. |
| Name | Your worker ID for the chosen pool. |
| Password (optional) | The login information for the employee you chose. |
- After configuring, click Save.
Monitoring Bitmain Antminer E9 Server
Note: Make sure to monitor the mining progress regularly to ensure optimal performance and profitability. Adjust the mining software settings as necessary to maximize earnings and minimize power consumption.
To check the operating status of your server:
- For a server status check, click the dashboard icon below.

Note: The E9 server operates at a fixed frequency of 450 MHz. Firmware will stop running when the Temp (Outlet) reaches to 80℃,there will be an error message “over max temp, pcb temp (real-time temp)” shown on the bottom of kernel log page. Meanwhile, the server temperature on the dashboard interface turns to abnormal and shows “Temp is too high”.
- Monitor your server according to the descriptions in the following table:
| Option | Description |
| Number of chips | In the chain, the number of chips was detected. |
| Frequency | Setting the ASIC frequency. |
| Real Hashrate | Each hash board’s current hashrate in bits per second (GH/s). |
| Inlet Temp | temperature at the inlet (degrees Celsius). |
| Outlet Temp | (Degrees Celsius) The outlet’s temperature |
| Chip state | One of the following statuses will appear: · The Green Icon – indicates normal · The Red Icon– indicates abnormal |
Tips for Successful Mining
A successful mining operation involves not only setting up the hardware and software correctly but also optimizing its performance. Here are some tips for successful mining with the Bitmain Antminer E9
Overclocking the Antminer E9
Overclocking refers to increasing the clock rate of the Antminer E9, which can result in higher mining performance. However, overclocking can also increase power consumption and heat output, so it should be done with caution. To overclock the Antminer E9, you can use software tools such as MSI Afterburner or AMD Wattman.
Monitoring the mining operation
It is crucial to monitor the mining operation regularly to ensure that everything is running smoothly. Monitoring can help you identify any issues or errors in the mining process, such as high temperatures, low hashrate, or connectivity issues.
Maintaining the Antminer E9
Regular maintenance of the Antminer E9 can prolong its lifespan and ensure optimal performance. Maintenance tasks can include cleaning the fans and filters, replacing any faulty components, and updating the firmware and software.
Guidance on Antminer E9 Maintenance and repairing
What Coins Can Bitmain Antminer E9 Mine?
The Bitmain Antminer E9 is designed for Ethash-based cryptocurrencies like Ethereum and Ethereum Classic, which use the PoW algorithm.
25 of Nvidia’s top-tier RTX 3080 graphics cards could be compared to E9’s enormous hashing rate of 2 400 MH/s.
Conclusion: It’s Easy to Set Up Your Bitmain Antminer E9
Setting up the Bitmain E9 to mine Ethereum Classic can be a profitable venture if done correctly. By following the steps outlined in this guide and using the tips for successful mining, you can increase your chances of success. However, it is essential to keep in mind that mining cryptocurrencies can be a risky and volatile activity, and it is crucial to do your research and stay informed about the latest trends and developments in the industry. Before you set up your miner, don’t forget to update your firmware to the most recent version.
FAQs
Can Antminer E9 Mine Ethereum?
This summer the most well-known ASIC miner producer Bitmain released the new Antminer E9 device for Ethereum mining. When compared to 25 of Nvidia’s top-tier RTX 3080 graphics cards, E9 offers a massive hashing rate of 2 400 MH/s.
What is the Hashrate of Antminer E9?
2,400 [MH/s]
The company announced the launch on July 6, 2022, and said “[The Antminer E9] is equipped with a hashrate of 2,400 [MH/s], 1920W power efficiency, and power efficiency of 0.8J/M.
Is Antminer E9 Available?
THE BITMAIN ANTMINER E9
With a power consumption of 1920W and an efficiency of 0.8 J/M, the Antminer E9 is the most powerful Ethereum and Ethereum Classic miner available.
Who is the Biggest Ethereum Miner?
Ethermine is pleased to say that it has secured the #Over the last 7 years, the Ethereum network has mined 9,836,656 ether and 3,271,518 blocks.